Your mini split was working flawlessly last week. Now it has started making an unsettling gurgling sound or blowing warm air into the room or there is even an odd looking small pool underneath its indoor unit leaving you to wonder whether this issue needs urgent attention or can simply be remedied easily within 10 minutes.
Due to this uncertainty, we crafted this guide. Ductless systems can be reliable machines but maintenance needs arise occasionally; common problems with mini splits typically stem from airflow restriction, refrigerant issues, condensate drainage or electrical faults once identified it makes fixing or calling someone easier.
Why Mini Splits Develop Problems Over Time
A ductless system doesn’t fail randomly. It fails in patterns, and those patterns follow physics.
Every mini split moves heat using refrigerant, a coil, a fan, and a drain path for condensation. Dust builds up on filters and coils the same way it collects on anything that moves air constantly. Condensate lines grow biofilm over months, the same slimy buildup you’d find in a shower drain. Refrigerant lines have flare fittings that can loosen slightly from vibration and temperature cycling, and a fitting doesn’t have to be badly loose to leak.
None of this means the equipment is poorly made. It means a mechanical system exposed to humidity, dust, and daily temperature swings needs periodic attention. Houston’s humidity actually accelerates two of these issues specifically: mold growth in the drain pan and coil, and condensate line clogs, because there’s simply more moisture in the air for the system to pull out of your home.
A common problems with mini splits running in a coastal, humid climate works harder than the same unit in a dry one, and that shows up faster in filters and drain lines than it does in, say, Arizona.
Knowing this helps explain why the same complaints keep showing up. It’s not bad luck. It’s wear that follows a predictable path, and that’s actually good news, because predictable problems have predictable fixes.
Read Why Is My AC Not Blowing Cold Air
Most Common Problems With Mini Splits
These 12 most common problems with mini splits AC occurs in most time.
1. Mini Split Not Cooling
What it looks like: The unit runs, air comes out of the vents, but the room never actually cools down. Sometimes the air feels lukewarm instead of cold.
Real cause: In most cases, this comes down to a dirty air filter choking off airflow, or the outdoor condenser being blocked by leaves, mulch, or a fence panel too close to the unit. Low refrigerant from a slow leak is the other frequent cause, especially if the problem has been getting gradually worse over a few weeks.
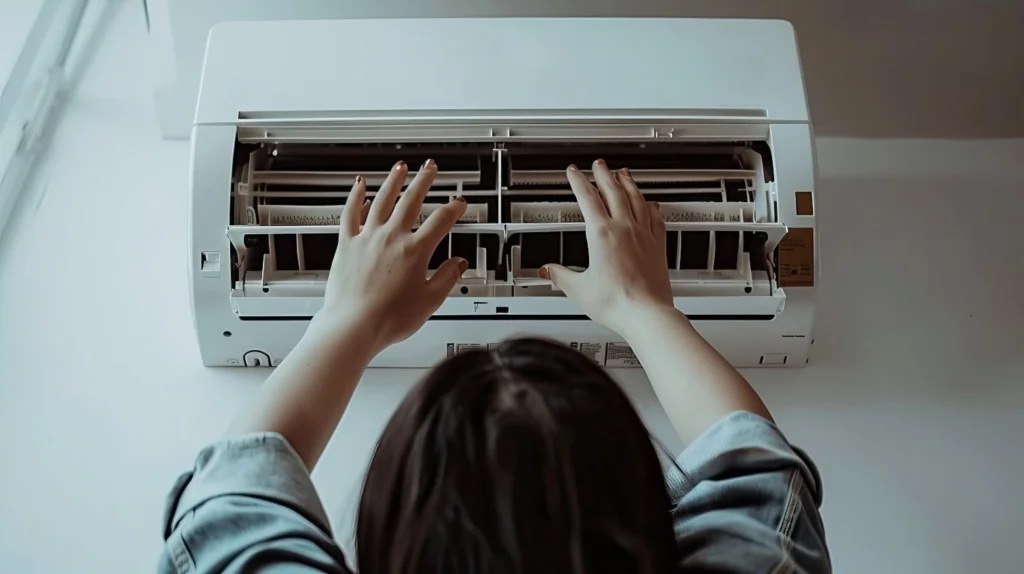
DIY fix if safe: Pull the filter and rinse it under warm water. Check the outdoor unit and clear anything within two feet of it on all sides.
When to call a pro: If cleaning the filter and clearing the outdoor unit doesn’t bring the cooling back within a day, you’re likely looking at a refrigerant leak or a coil problem, and that needs a licensed technician with EPA Section 608 certification to handle the refrigerant legally and safely.
2. Mini Split Not Heating
What it looks like: The unit blows air but it’s not warm, or it cycles on and off without ever reaching the set temperature in heat mode.
Real cause: Ductless heat pumps pull heat from outside air, even in cold weather, which means a blocked or iced-over outdoor unit hits heating performance hard. A control board glitch or a system stuck in defrost mode longer than it should be is another common culprit.
DIY fix if safe: Check that the outdoor unit isn’t covered in debris or ice. Confirm the remote is actually set to heat mode and not auto, which can sometimes default to cooling logic depending on the indoor temperature reading.
When to call a pro: Repeated failure to reach temperature, or a unit that runs constantly without warming the room, usually points to a refrigerant or reversing valve issue that’s outside DIY territory.
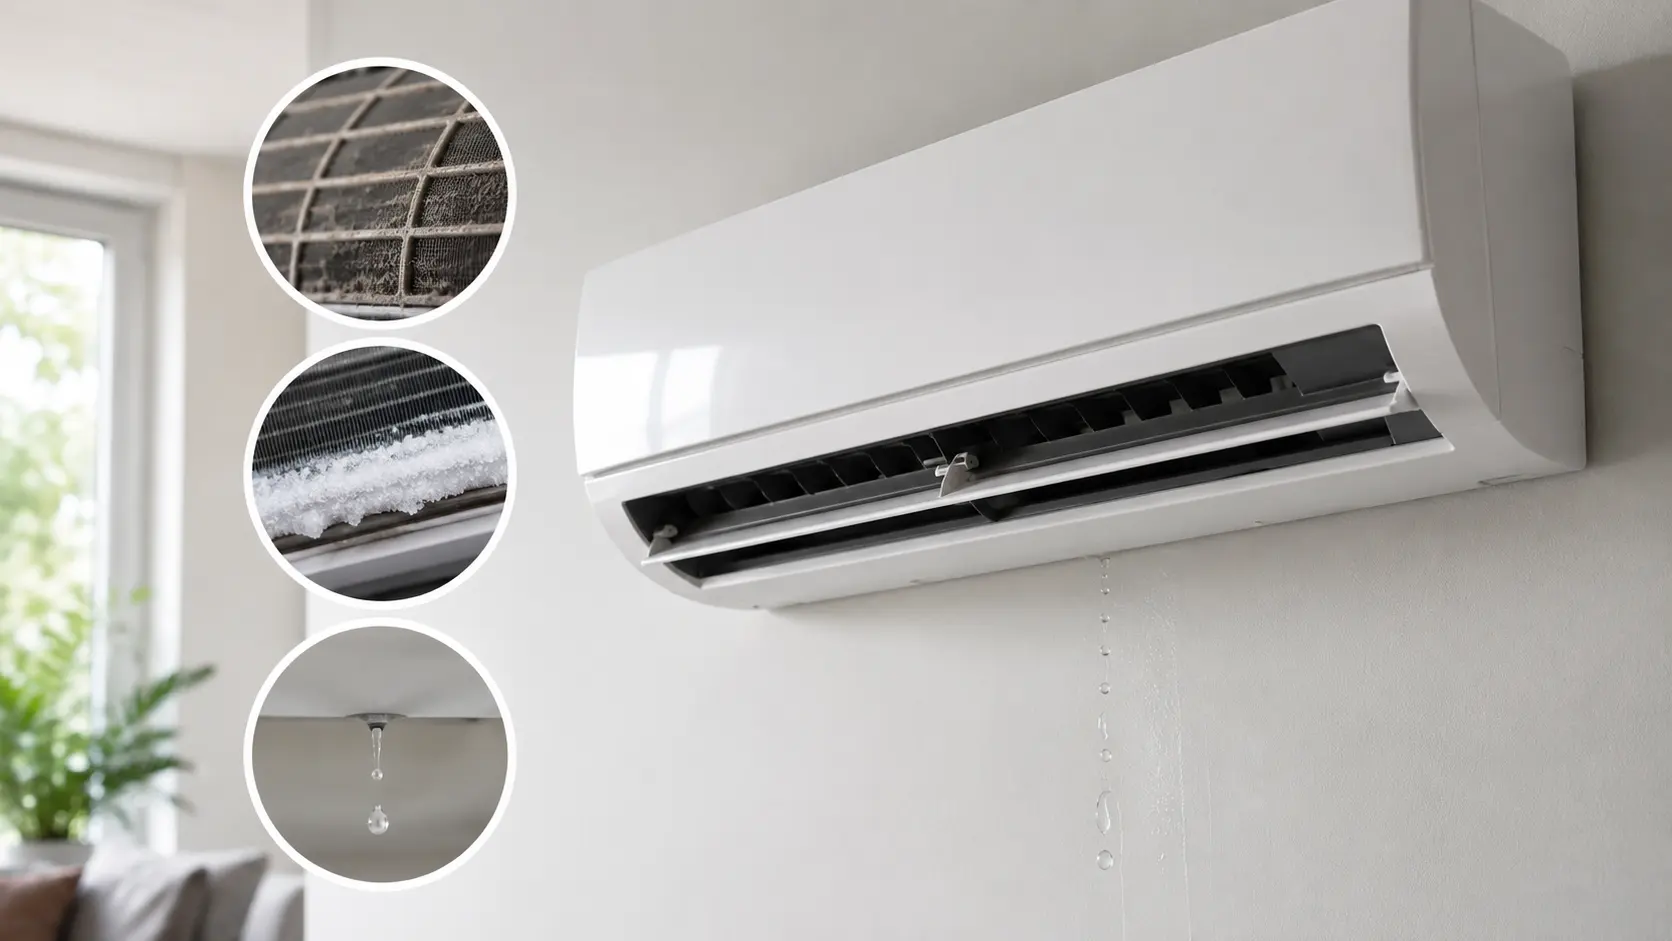
3. Water Leaking From Indoor Unit
What it looks like: Drips or a small puddle forming on the wall or floor below the indoor head.
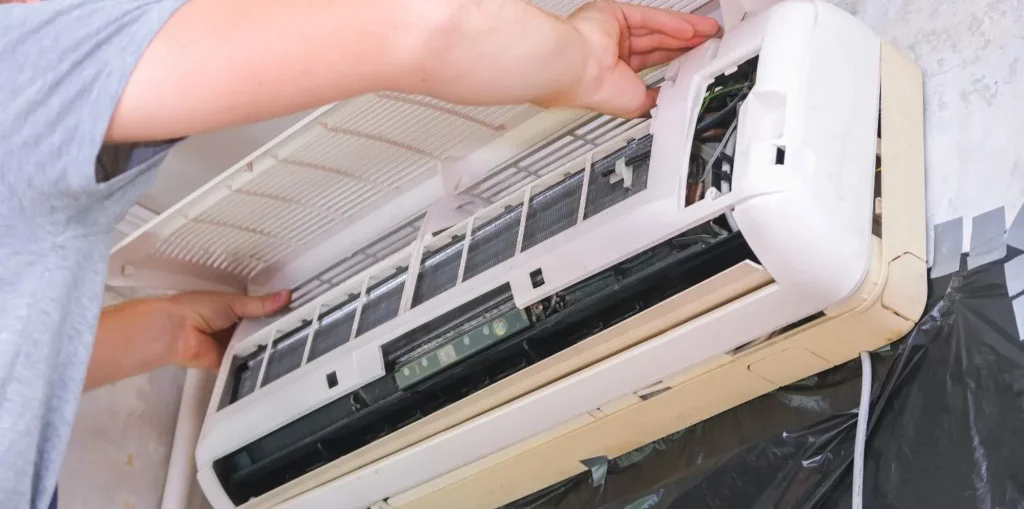
Real cause: This condition typically results from a blocked drain line; condensation builds up faster than its pathway can transport away, and backs up into the drain pan until it overflows. A cracked drain pan, though less prevalent, also typically creates the same effect.
DIY fix if safe: If you’re comfortable with it, a wet/dry vacuum at the outdoor end of the condensate line can sometimes pull a clog free. Turn the unit off first.
When to call a pro: If the leak keeps coming back after clearing the line, or you can’t locate the drain termination point, a technician can flush the line properly and check for a cracked pan before mold sets in.
4. Strange Noises (Rattling, Buzzing, Gurgling)
What it looks like: Sounds you didn’t hear when the system was new. Rattling, buzzing, gurgling, or an occasional popping.
Real cause: Popping typically indicates the plastic housing expanding with temperature change and should not be cause for alarm. Gurgling usually only happens during normal defrost cycles; frequent or loud gurgling could indicate low refrigerant or air accumulation in your lines, while rattle indicates something is loose often fan blade or panel screws need tightening up, for instance while buzzing louder than soft hum could indicate struggling fan motor or electrical problems.
DIY fix if safe: Check for loose covers or panels you can tighten yourself.
When to call a pro: Rattling, banging, or persistent buzzing that doesn’t stop after a basic check needs a technician, since these often mean a component is failing internally.
5. Unusual Smells (Musty, Vinegar, Burning)
What it looks like: An odor that comes through the vents when the system runs.
Real cause: Musty or damp smells indicate mold growth on either the evaporator coil or drain pan, due to constant humidity levels. A vinegar or sweet chemical smell often signifies refrigerant leakage while burning odors indicate electrical faults such as overheated wiring or failing capacitors.
DIY fix if safe: For a musty smell, a filter cleaning and a coil rinse (following your manufacturer’s instructions) sometimes resolves it.
When to call a pro: Vinegar and burning smells are not DIY situations. Turn the system off at the breaker for a burning smell and call for service the same day.
6. Mini Split Won’t Turn On
What it looks like: No response from the remote, no display lights, nothing.
Real cause: Dead remote batteries cause this more often than people expect. A tripped circuit breaker, or the small disconnect switch near the outdoor unit being flipped off, are the next most likely reasons.
DIY fix if safe: Swap the batteries, check your breaker panel for a tripped switch, and confirm the outdoor disconnect is in the “on” position.
When to call a pro: If power is confirmed at the breaker and disconnects but the unit still won’t respond, the control board or wiring needs a professional look.
7. Frozen Evaporator Coil / Ice Buildup
What it looks like: Visible ice on the indoor coil, refrigerant lines, or even the outdoor unit.
Real cause: Restricted airflow from a dirty filter is the most common trigger. Low refrigerant is the second, since insufficient refrigerant drops coil temperature below freezing point even with decent airflow.
DIY fix if safe: Turn the system off completely and let the ice melt on its own, which can take a few hours. Clean the filter while you wait.
When to call a pro: If the coil freezes again shortly after you’ve cleaned the filter, the cause is almost certainly refrigerant related, and that requires a certified technician.
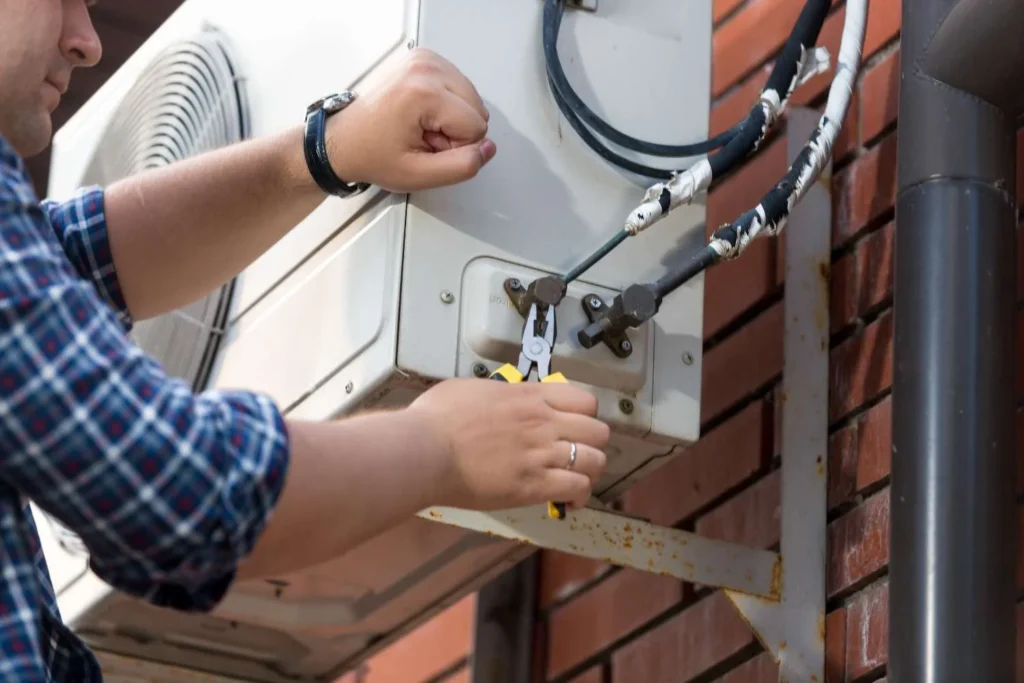
8. Refrigerant Leak
What it looks like: Gradually weaker cooling, ice on the lines, a vinegar-like smell, or hissing near the connections.
Real cause: Refrigerant doesn’t get “used up” during normal operation. If levels are low, something is leaking, usually at a flare fitting or a small crack in the line set.
DIY fix if safe: None. This is not a DIY repair.
When to call a pro: Always. Handling refrigerants like R-410A, R-32, or older R-22 requires EPA Section 608 certification by law, and a leak needs to be located and sealed before recharging, or you’ll be back to square one within weeks.
9. Short Cycling
What it looks like: The system turns on and off repeatedly in short bursts instead of running a normal cycle.
Real cause: An oversized unit for the room is a frequent cause we see from mini split installation mistakes, since a unit that’s too powerful satisfies the thermostat too fast and shuts off before it dehumidifies or stabilizes the space. Faulty sensors or a dirty filter can also trigger it.
DIY fix if safe: Clean the filter and confirm nothing is blocking the indoor unit’s airflow path.
When to call a pro: If short cycling continues after basic cleaning, sensor or control board diagnostics are needed, and if the root cause is a sizing mistake from installation, that’s a conversation about correcting the original Manual J load calculation.
10. Poor Dehumidification
What it looks like: The room feels cool but sticky or damp, even with the system running.
Real cause: This is another classic sign of an oversized system, since a unit that cools too fast doesn’t run long enough to pull moisture out of the air. It can also happen with a dirty coil that can’t transfer heat efficiently.
DIY fix if safe: Clean the filter and coil access panel per your manual.
When to call a pro: If the room stays humid despite regular maintenance, the issue is likely sizing or coil condition, and a technician can confirm whether the original installation matched the space correctly.
11. Outdoor Unit Airflow Blockage
What it looks like: Weak performance from both heating and cooling modes.
Real cause: Leaves, grass clippings, a nearby fence, or even a bush that’s grown too close all restrict the outdoor condenser unit’s ability to release or absorb heat.
DIY fix if safe: Clear at least two feet of open space around the unit on all sides and trim back any plants growing into that zone.
When to call a pro: If clearance is fine and performance still suffers, the problem has moved past airflow and into refrigerant or component territory.
12. Remote Control / Sensor Issues
What it looks like: Inconsistent temperature readings, the unit not responding to remote commands, or settings that don’t stick.
Real cause: Weak or dead batteries are the top cause. A failing internal sensor or a remote that’s been dropped and damaged is next.
DIY fix if safe: Replace batteries, make sure nothing is blocking the line of sight to the indoor unit’s receiver, and check for physical damage on the remote.
When to call a pro: If a fresh remote still doesn’t communicate with the unit, the receiver or control board inside the indoor head likely needs professional diagnosis.
DIY Fixes You Can Try Today
Here’s a quick checklist for the fixes that are genuinely safe to handle yourself before calling anyone.
|
Task |
How Often | Time Needed |
| Clean or rinse the air filter | Every 2 to 4 weeks during heavy use |
10 minutes |
|
Check circuit breaker for trips |
As needed when unit won’t start | 2 minutes |
| Replace remote batteries | When response is slow or inconsistent |
2 minutes |
|
Clear outdoor unit debris |
Every few weeks | 10 minutes |
| Visual check of drain line for kinks | Monthly |
5 minutes |
If you’ve worked through this list and the problem is still there, it’s time to move past DIY.
Problems That Always Need a Professional
Some repairs cross a line where a homeowner shouldn’t go, either because of legal restrictions or genuine safety risk.
- Refrigerant leaks require EPA-licensed handling by law. It’s not just red tape. Refrigerant is pressurized and requires specific tools and certification to recover and recharge correctly.
- Electrical faults, including burning smells, exposed wiring, or a tripped breaker that trips again immediately after resetting, are a fire risk and need a technician working to NEC electrical code.
- Compressor issues are the most expensive component in the entire system, and misdiagnosing a compressor problem can turn a repairable unit into a total loss. A qualified HVAC technician will pressure test, check amp draw, and confirm what’s actually happening before touching it.
- Control board and sensor failures need diagnostic equipment most homeowners don’t have on hand, and guessing wrong here can damage other components.
If you’re dealing with any of these, our team handles mini split ac repair across the Houston area, and we’ll walk you through exactly what we find before any work starts.
How Much Does Mini Split Repair Cost?
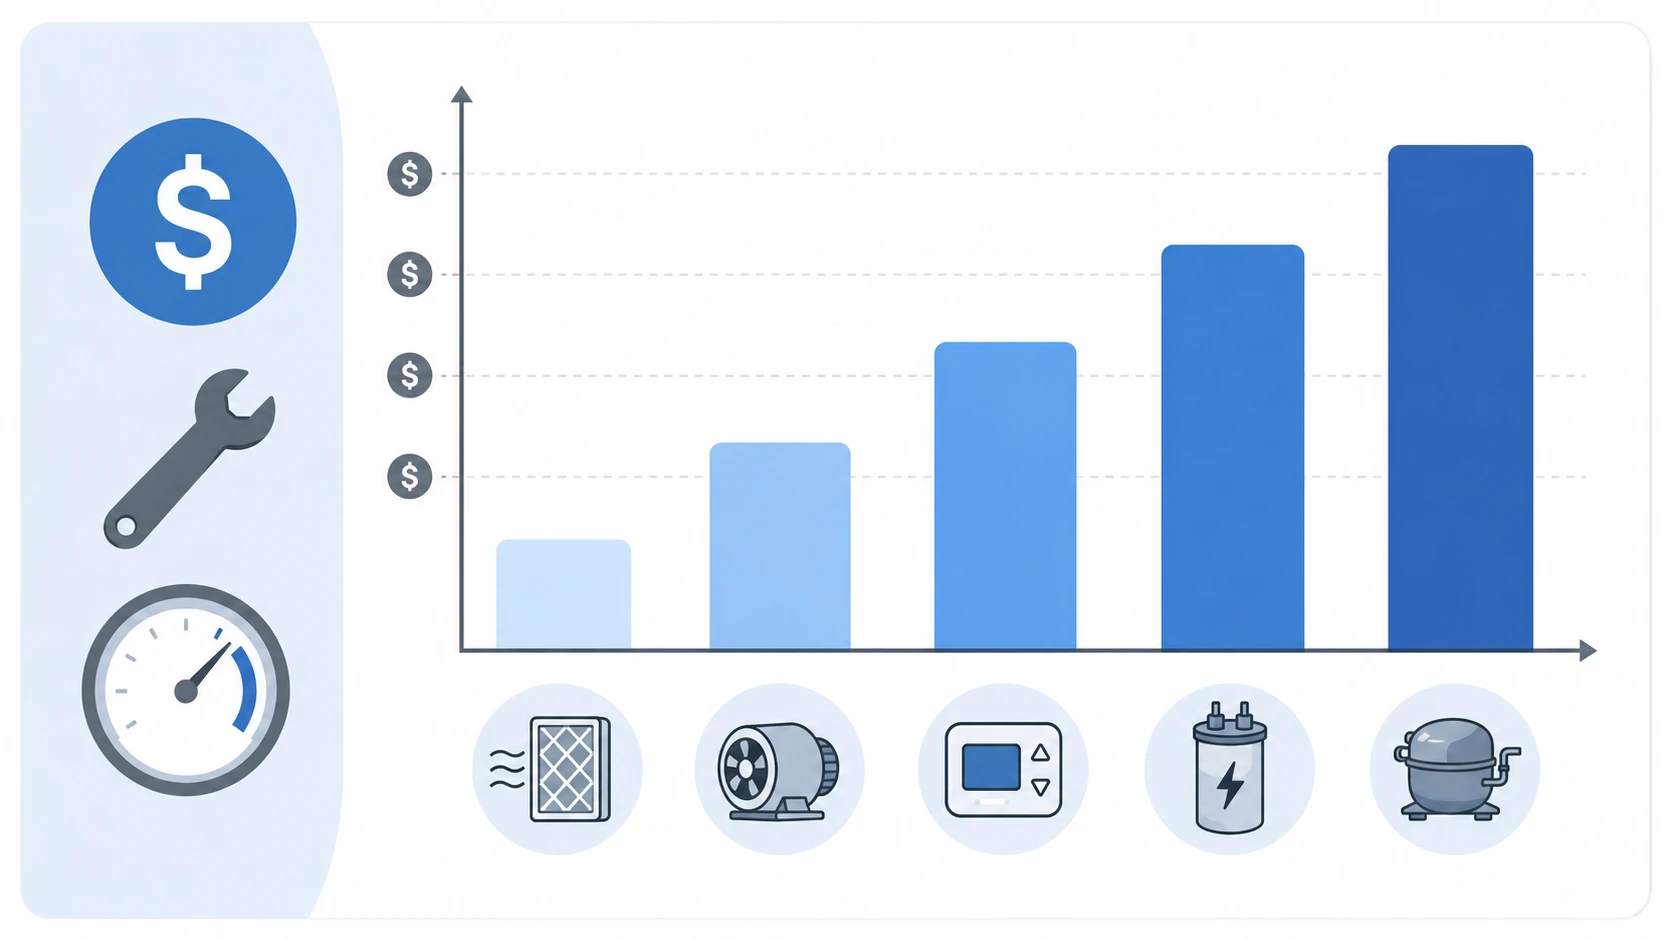
Costs vary depending on what’s actually wrong, but here’s a realistic range based on what Houston homeowners typically see for the most common repairs.
|
Repair Type |
Typical Cost Range |
| Filter cleaning / basic maintenance |
$75 to $150 |
|
Drain line clearing |
$100 to $250 |
| Refrigerant leak diagnosis and repair |
$300 to $1,200 |
|
Capacitor or fan motor replacement |
$200 to $500 |
| Control board replacement |
$300 to $700 |
|
Compressor replacement |
$1,500 to $2,800 |
Humidity and older units with harder-to-source parts can push costs toward the higher end. A technician should always give you a firm number before starting work, not just a ballpark.
Preventing Mini Split Problems: Maintenance Checklist
Most repairs for mini split systems can be avoided; scheduled ductless mini split maintenance won’t need to be complicated either.
As part of your regular maintenance regimen during peak cooling and heating seasons, cleaning or rinsing filters every two to four weeks during the cooling or heating seasons is recommended to prevent airflow and freezing problems that plague many Houston households.
A good rule-of-thumb for how frequently mini split filters need cleaning is monthly due to pollen levels and humidity here.
Maintain a two-foot clearance around the outdoor unit at all times and arrange professional tune-ups twice annually, once before summer and once before heating season kicks in; so a technician can check refrigerant pressure, tighten electrical connections, and flush drain lines prior to problems occurring.
Never ignore small symptoms: faint smells or noises may serve as early-warning systems for your system; taking action quickly usually costs less in the end.
Cleaning mini split filters yourself between professional visits is one of the easiest ways to stretch the life of the whole system and keep energy bills from creeping up.
Mini Split Repair vs. Replacement: When to Decide
This decision usually comes down to three questions. How old is the unit? Most mini splits last 10 to 15 years with regular mini split ac maintenance, so a unit near that age needing a major repair is a strong candidate for replacement instead.
How much is the repair, relative to a new system? If a single repair runs close to half the cost of replacing the unit, replacement almost always makes more financial sense long term, especially with newer units offering better SEER rating performance and lower energy bills.
How often has it needed repairs? A unit that’s needed three service calls in two years is telling you something. At that point, you’re often paying for the same underlying weakness repeatedly instead of solving it once.
Warranty coverage matters here too. If your system is still under warranty, a repair can be far cheaper than it looks on paper, so it’s worth checking your paperwork before assuming replacement is the only option.
Need Mini Split Repair in Houston?
If your mini split is showing any of the symptoms above and DIY steps haven’t helped resolve them, 75 Degree AC can offer its expertise to diagnose its underlying cause be that refrigerant leak, blocked drain or failing component. We then explain everything clearly before any repair work commences.
Contact us today Houston’s humidity is tough on ductless systems, and getting common problems with mini splits handled early keeps small issues from turning into a full system replacement.
FAQs
What causes the most common problems with mini splits?
Most issues trace back to airflow restriction from a dirty filter, condensate drain clogs, or refrigerant leaks. All three get worse the longer they’re ignored, so early attention matters.
How often should I clean my mini split filter?
Every two to four weeks during heavy use is a good baseline, especially in humid climates like Houston where dust and moisture build up faster.
Why is my mini split leaking water?
A clogged condensate drain line is the most common cause. Water backs up into the drain pan and overflows once it can’t drain properly.
Can I fix a refrigerant leak myself?
No. Refrigerant handling requires EPA Section 608 certification by law, and attempting it yourself can damage the compressor or violate federal regulations.
Why does my mini split smell musty?
A musty smell almost always means mold growth on the evaporator coil or in the drain pan, both of which stay damp from normal condensation.
How long do mini splits usually last?
Most systems last 10 to 15 years with regular maintenance. Units approaching that age with frequent breakdowns are usually better replaced than repeatedly repaired.
Why does my mini split keep turning on and off?
This is called short cycling, and it’s often caused by an oversized unit for the room, a dirty filter, or a failing sensor.
When should I call a professional instead of troubleshooting myself?
Any time you smell burning or vinegar, see ice that returns after cleaning the filter, or hear rattling or banging, stop troubleshooting and call a licensed technician.