Winter in Houston often hits hard and unexpectedly, and an inoperable furnace quickly escalates any cold night into an unpleasant one. Learning how to install a furnace correctly protects both you, your home, family, budget and future years. This guide walks through every step from planning through final walkthrough with real field experience from licensed HVAC technicians.
At 75 Degree AC, our certified installers have successfully managed numerous furnace projects throughout Houston, TX. In this article we draw upon that hands-on expertise to offer an honest and comprehensive account of what to expect when performing such an undertaking.
Key Takeaways
- The full furnace installation process takes 4 to 8 hours for most homes
- Average furnace installation cost ranges from $2,500 to $12,000 depending on furnace type and home size
- A permit and inspection is required in almost every city, including Houston
- Skipping load calculation (Manual J) is the top reason new furnaces underperform
- DIY installation voids most manufacturer warranties and creates real safety risk
Can You Install a Furnace Yourself? (DIY vs Professional)
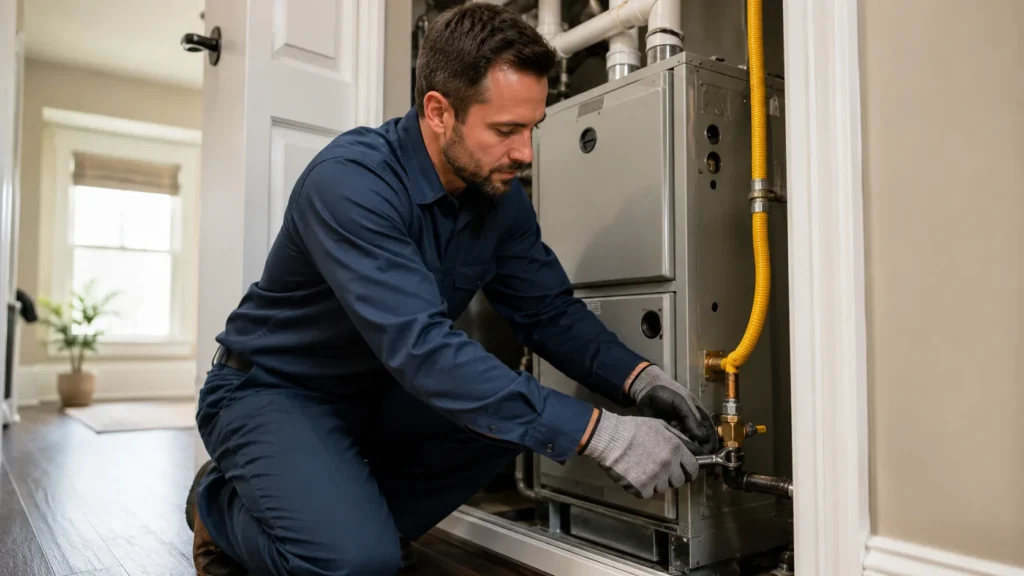
Some homeowners ask if DIY furnace installation is possible to save money. Technically speaking, installing their own furnace may be technically possible but in practice is rarely advised as how to install a furnace or connect to gas lines, high voltage electrical circuits and venting systems that remove deadly gases from your home with any incorrect connection leading to fire, gas leak or carbon monoxide poisoning as consequences.
Legal/Permit Requirements
Almost every city requires a permit and inspection before and after furnace work. Houston building codes require licensed contractors to pull permits for gas appliance installs. Skipping this step can lead to fines and problems when you sell your home.
Warranty Risk
Furnace manufacturers require furnace replacement in Houston for warranty registration to stay valid. If you install it yourself and something breaks, the manufacturer can deny your claim.
Safety Risk (gas, electrical, CO)
A single mistake during gas line connection or electrical wiring/circuit breaker work can be dangerous. Improper venting can cause backdraft, pushing combustion gases back into your living space instead of outside.
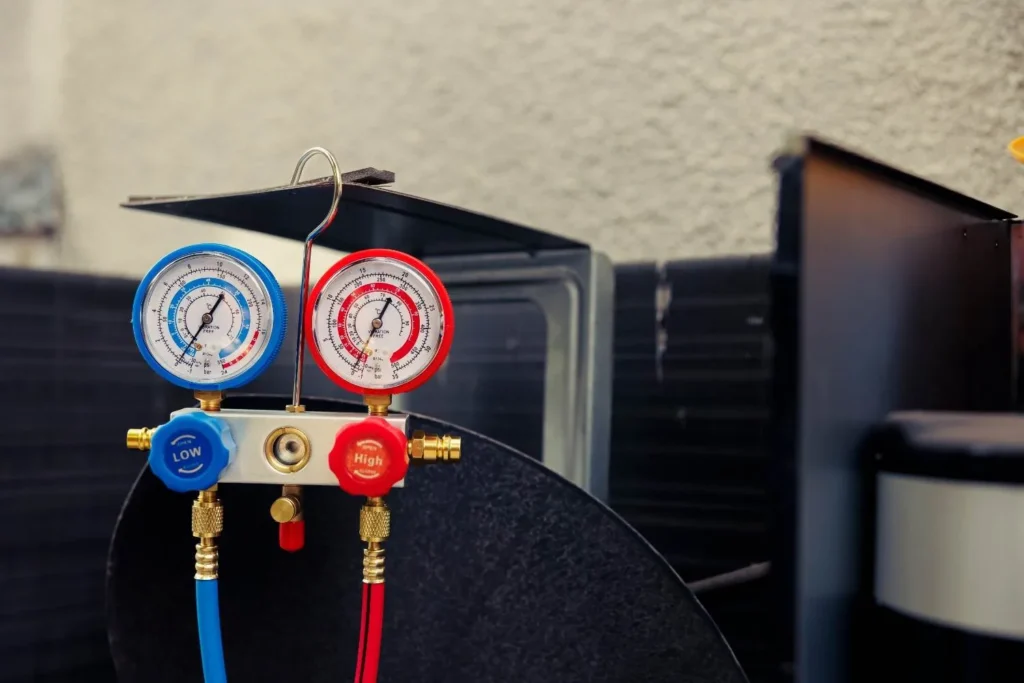
Tools & Equipment Needed for Furnace Installation
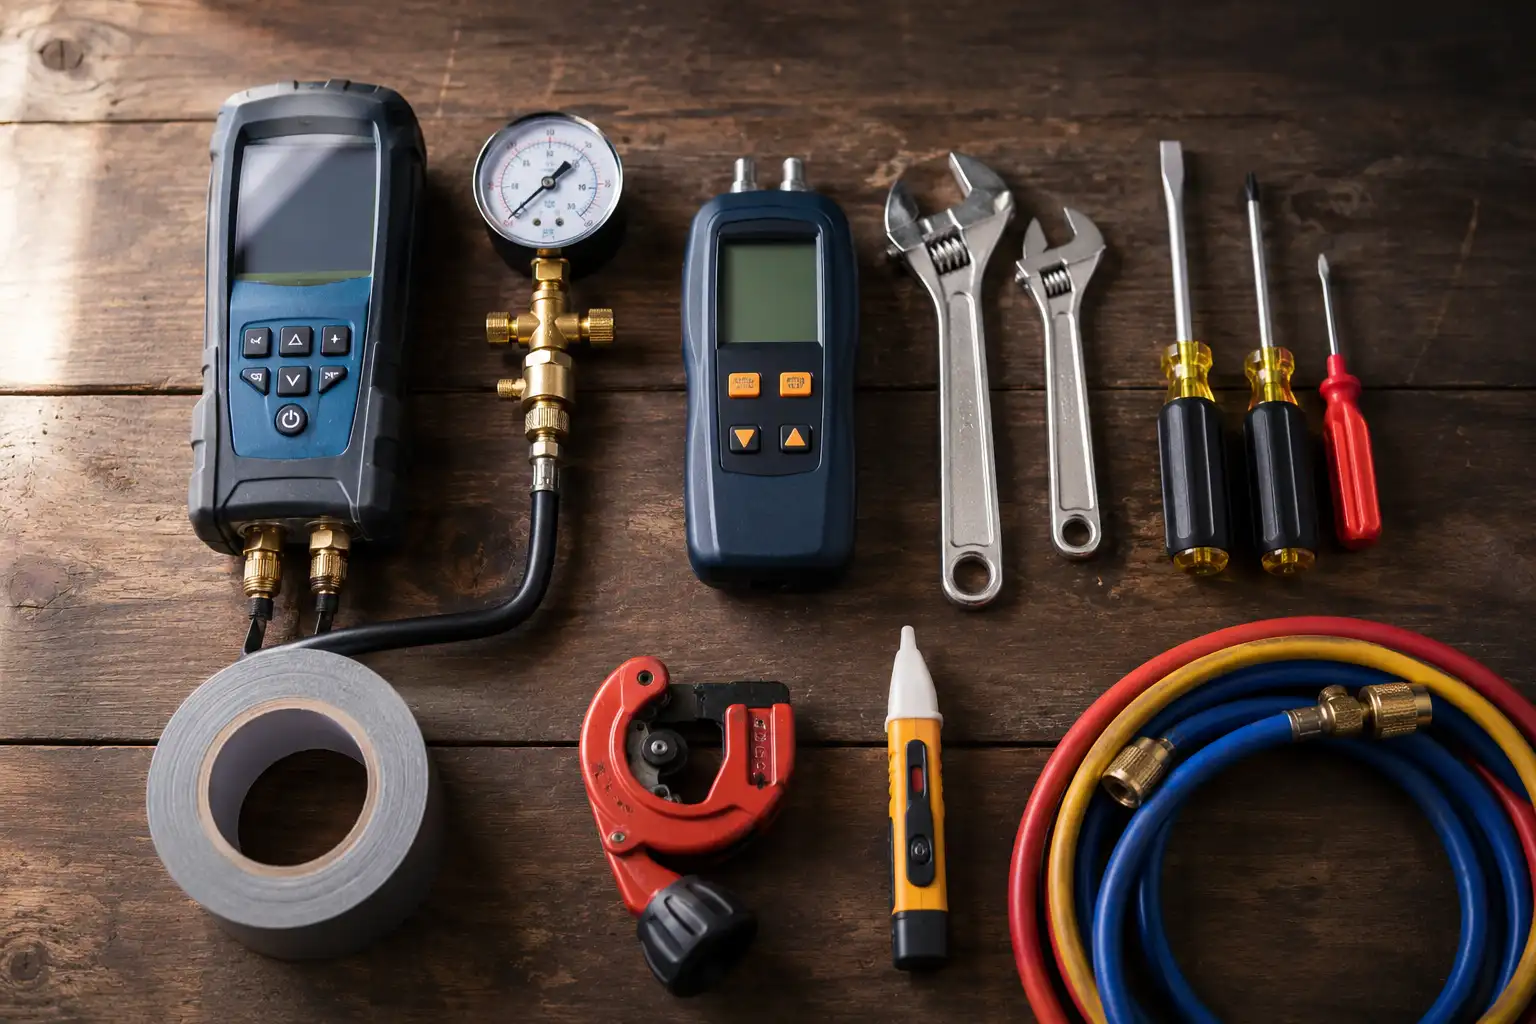
Basic tools:
- Screwdrivers and wrenches
- Duct tape and metal sheers
- Level and tape measure
- Pipe cutters
Professional-only tools:
- Combustion analyzer
- Gas pressure gauge
- Manometer for static pressure readings
- Voltage tester
HVAC installation tools on a workbench, including a combustion analyzer, gas pressure gauge, wrenches, and duct tape, shot from above in natural light.
How to Install a Furnace: 8-Step Process
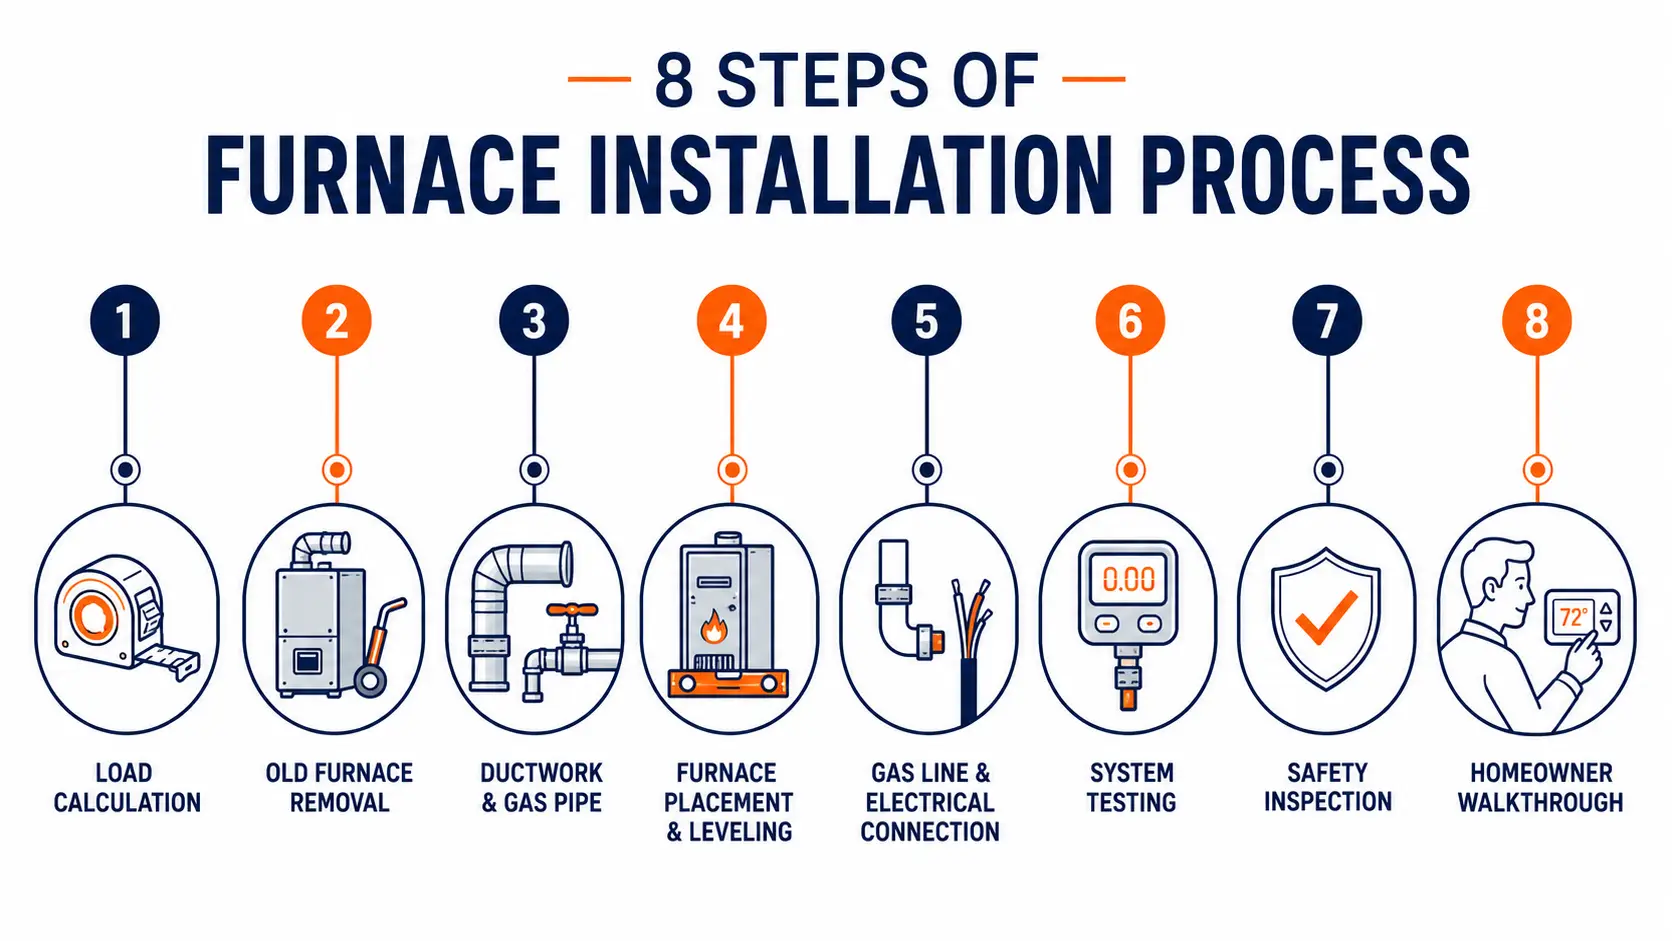
Here is the full furnace installation process our technicians follow on every job, whether it is a standard gas furnace repair, an electric furnace repair, or an attic furnace installation.
-
Pre-Installation Assessment & Load Calculation
Every job starts with a proper load calculation (Manual J). This step measures your home’s square footage, insulation, windows, and layout to find the right furnace size. A furnace that is too big or too small causes short cycling and higher energy bills. Technicians also check the AFUE rating you need based on your climate and budget.
-
Removing the Old Furnace
The old unit gets disconnected from gas, power, and ductwork, then removed carefully. Technicians check the old heat exchanger for cracks and inspect the evaporator coil if the system is paired with central air.
-
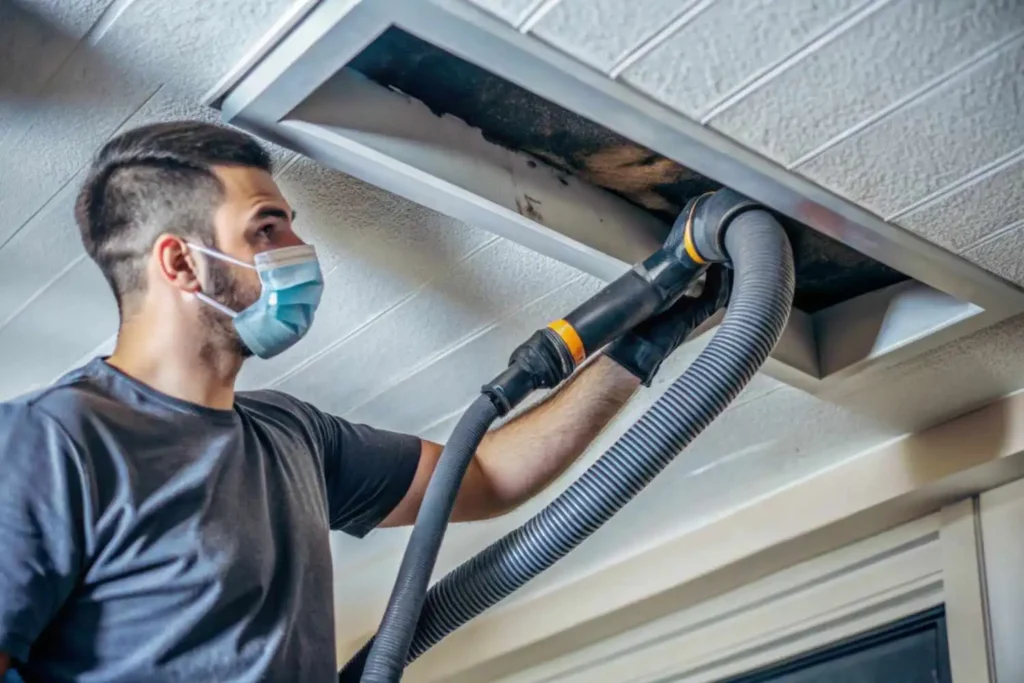
Preparing the Installation Site (ductwork, gas line, electrical)
This step covers ductwork sizing, checking the gas line connection point, and confirming the electrical panel can handle the new unit. Poor duct sealing from the old system often gets fixed here too, since leaky ducts waste energy no matter how good the new furnace is..
-
Positioning & Leveling the New Furnace
The new unit gets placed and leveled. This matters more than people think. An unleveled furnace strains the blower motor and can shorten its lifespan. Whether it is an up flow/down flow/horizontal furnace, the orientation must match your home’s duct layout exactly.
-
Connecting Gas, Electrical & Venting
Here technicians handle the gas line connection, electrical wiring/circuit breaker hookup, and the flue/venting system. This step decides how safely combustion gases leave your home. It is the most safety-critical part of the entire job, and it is why DIY attempts go wrong so often.
-
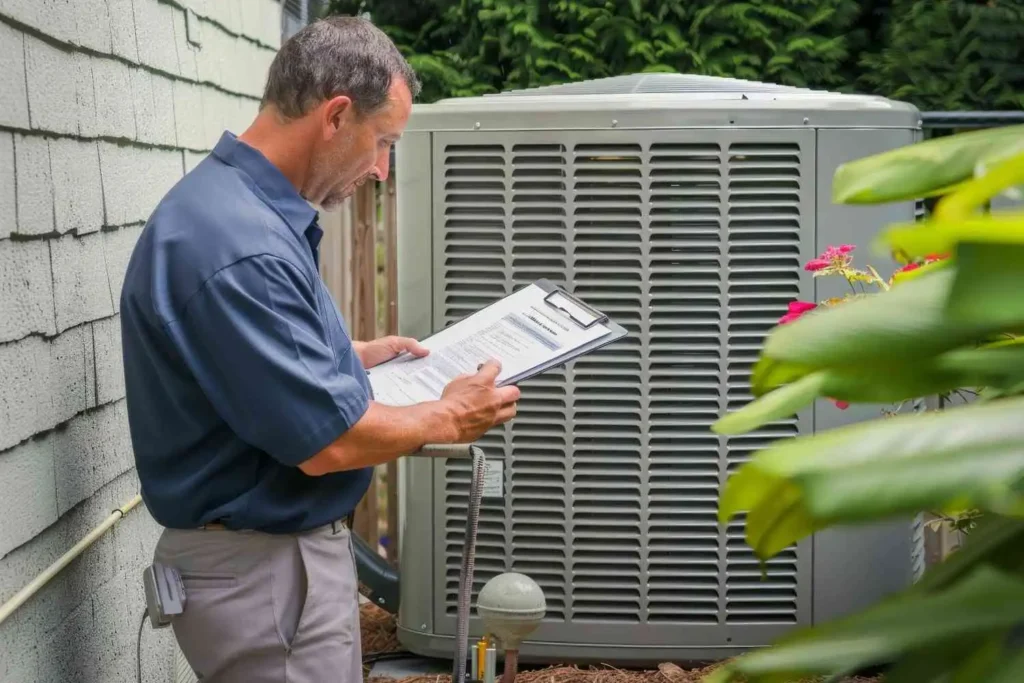
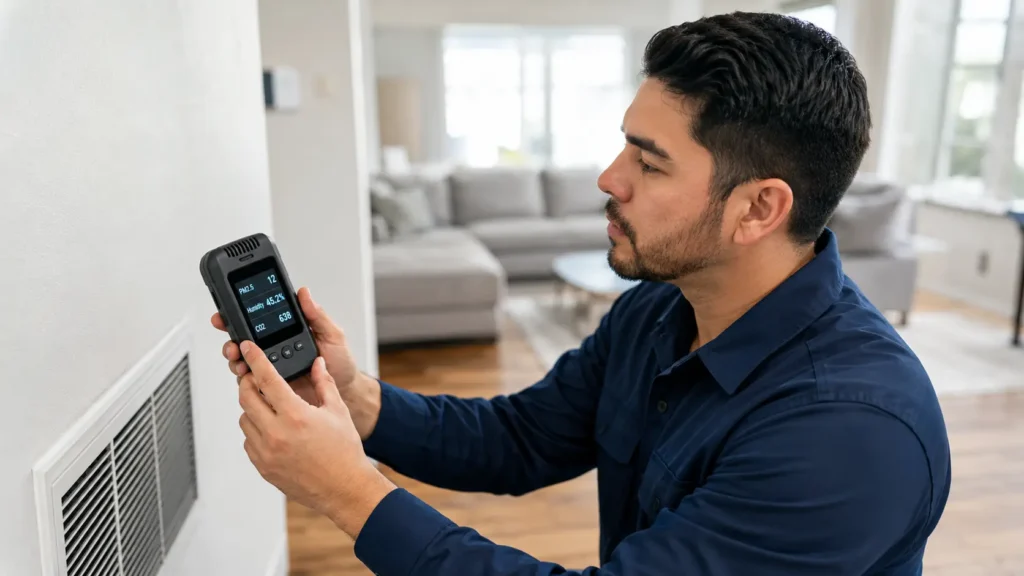
System Testing & Commissioning
Before the job is done, technicians run full commissioning checks. This includes measuring temperature rise, CFM airflow, and static pressure to confirm the furnace runs at the right performance level. They also test the ignition system and check the pressure switches for proper function.
-
Safety & Code Compliance Checks
This step includes carbon monoxide testing throughout the home, not just near the furnace. Technicians confirm the unit meets local code and passes final inspection requirements tied how to install a furnace to the permit and inspection process.
-
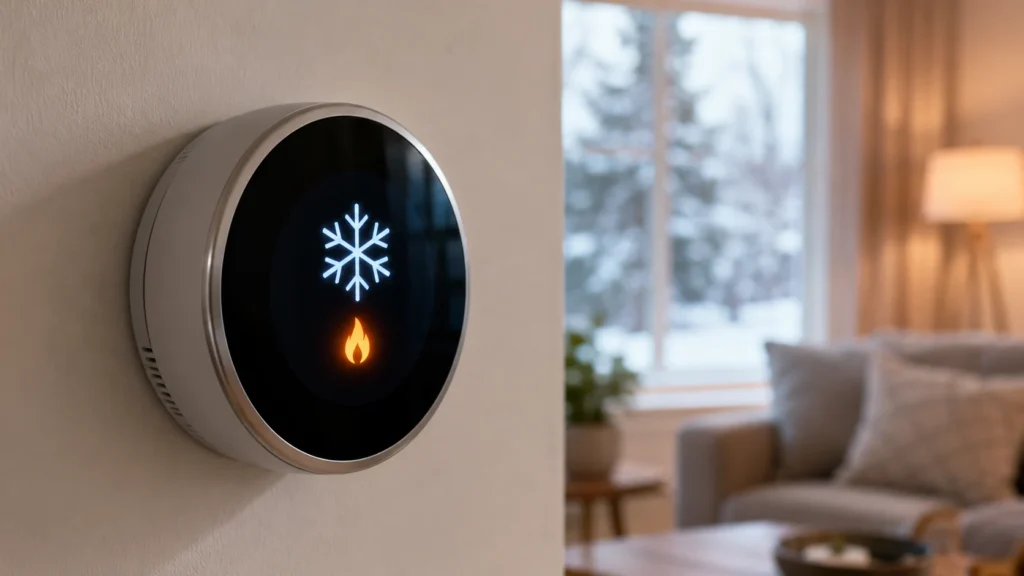
Homeowner Walkthrough & Orientation
Finally, your technician walks you through the new system. Thermostat calibration, filter changes, and what warning signs to watch for. At 75 Degree AC, this step also includes registering your unit for warranty registration and reviewing our maintenance package options.
How Long Does Furnace Installation Take?
|
Step |
Average Time |
| Load calculation & assessment |
30-45 minutes |
|
Old furnace removal |
45-60 minutes |
| Site prep (duct, gas, electrical) |
1-2 hours |
|
Positioning new unit |
30 minutes |
| Gas, electrical, venting hookup |
1-1.5 hours |
|
Testing & commissioning |
45 minutes |
| Safety checks |
30 minutes |
|
Walkthrough |
15-20 minutes |
Most standard jobs finish in 4 to 6 hours. Complex jobs, like how to install a furnace or a full duct replacement, can take a full day.
Furnace Installation Cost Breakdown

|
Furnace Type |
Cost Range |
| Standard gas furnace |
$2,500 – $6,500 |
|
High-efficiency gas furnace |
$4,500 – $9,500 |
| Electric furnace |
$2,000 – $5,500 |
|
LP furnace installation |
$3,000 – $8,000 |
Labor typically runs $75 to $150 per hour, depending on job complexity and location.
Common Furnace Installation Mistakes to Avoid
- Skipping the load calculation (Manual J) and guessing on size
- Poor duct sealing, which wastes 20 percent or more of heated air
- Ignoring backdraft risk in tight mechanical rooms
- Reusing an old flue that doesn’t match the new furnace’s venting needs
- Forgetting warranty registration after the job is done
Furnace Installation Safety Tips
- Never attempt gas line connection work without a licensed technician
- Install carbon monoxide detectors near sleeping areas
- Keep the area around the furnace clear of stored items
- Schedule annual commissioning checks to catch small issues early
Best Time of Year to Install a Furnace
Fall is the best season for a new furnace installation. Prices are lower, technicians have more open slots, and you avoid the risk of your old unit failing during a cold snap. Waiting until winter often means longer wait times and emergency pricing.
Final Thoughts
Getting furnace installation steps right the first time saves you money and keeps your home safe for years. Whether you need how to install a furnace, working with a licensed team matters more than the brand on the unit.
75 Degree AC offers expert heating services in Houston, TX, backed by real field experience and honest pricing. Contact us today to schedule your free estimate for professional furnace installation.
FAQs
Can you install a furnace yourself?
You can attempt it, but it is not recommended. Gas and electrical work carries real safety risk, and most warranties require professional installation.
How long does furnace installation take?
Most installs take 4 to 8 hours, depending on furnace type and how much prep work the site needs.
What size furnace do I need?
The right size comes from a proper load calculation (Manual J), not a guess based on your old unit’s size.
What is the average cost of furnace installation?
Most homeowners pay between $2,500 and $12,000, depending on furnace type, efficiency rating, and labor costs in their area.
Do I need a permit to install a furnace?
Yes. Almost every city, including Houston, requires a permit and inspection for gas appliance installation.
What tools do I need to install a furnace?
Basic tools include wrenches and a level, but professional jobs also require a combustion analyzer and gas pressure gauge for accurate testing.
What happens if the furnace is not sized correctly?
An oversized or undersized unit causes short cycling, higher energy bills, and uneven heating throughout your home.