
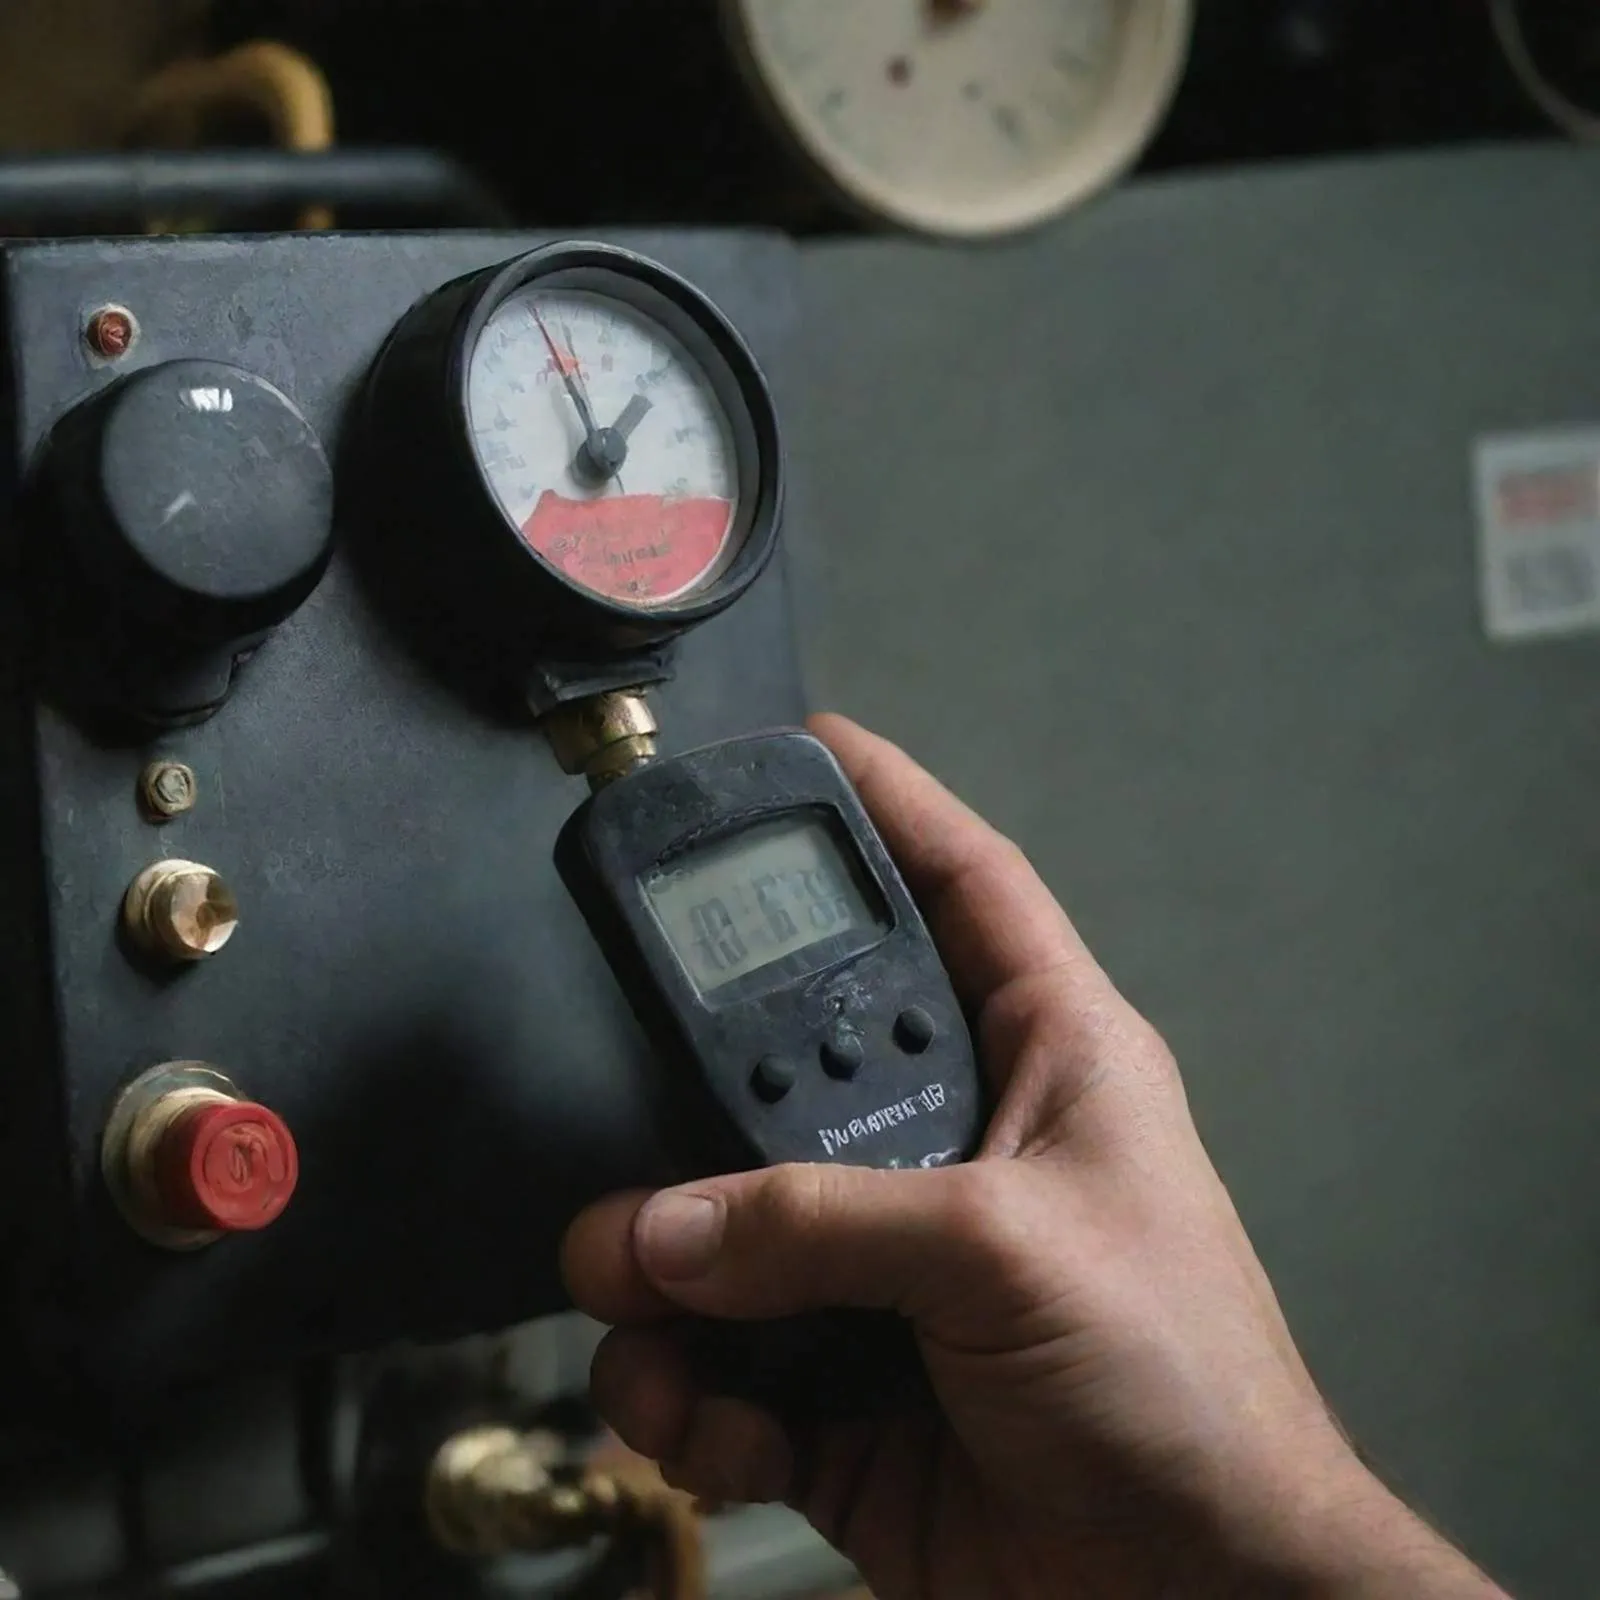
Thermostat calibration means aligning your thermostat’s displayed temperature with the actual air temperature in the room. When these two numbers don’t match, your HVAC system works harder than it needs to. The U.S. Department of Energy estimates that miss calibration increases heating and cooling costs by 10 to 20% annually. That is real money leaving your pocket every month.
Picture this: you set your thermostat to 72°F, but the house feels like 76°F. So you drop it to 68°F. Now your system runs for hours trying to hit a set point it can’t reach. This guide explains when to check calibration, how to test it yourself.
What Causes Thermostat Calibration Inaccuracy?
6 Reasons Your Thermostat Lies to You
Understanding why your thermostat accuracy drops helps you fix the right problem.
- Dust on the sensor. Dust acts like insulation around the sensor. It traps heat and causes inconsistent readings, making the thermostat think the room is warmer than it is.
- Temperature sensor drift. NTC thermistors drift 0.1 to 0.2°C per year (TE Connectivity). After five years, that adds up to nearly 1°F of permanent error.
- Bad thermostat placement. A thermostat near a sunny window, supply vent, or exterior wall can show up to 4°F of error. Thermostat placement is one of the most overlooked causes of fluctuating temperature readings.
- Loose or corroded wiring. Resistance in a corroded terminal distorts the voltage signal. The thermostat misreads that distortion as a temperature change.
- Bimetallic strip warping. In a bimetallic strip thermostat, physical deformation from heat cycles over many years causes permanent drift.
- Low battery voltage. This is the cause no competitor explains clearly. When battery voltage drops, the sensor signal weakens. The thermostat misinterprets that weaker signal as a temperature shift. Change batteries every six months. Don’t wait for a low-battery warning. By then, reduced voltage has already been affecting thermostat temperature reading accuracy for weeks.
Signs Your Thermostat Needs Calibration

Your system might be telling you something is wrong. Watch for these signs:
- High energy bills without a weather explanation
- The house consistently feels warmer or cooler than the set point
- HVAC extended cycling where the system never quite reaches the set temperature
- Thermostat short cycling where the system turns on and off too frequently
- Hot cold spots in different rooms
- Temperature swings between morning and evening
Here is one that almost no one talks about: calibration errors silently corrupt your programmed schedule. If your thermostat reads 2°F high, your 7am wake set point is always delivering 2°F more than you want. You never actually wake up to your preferred temperature. That means your comfort and your energy savings are both off, every single day.
Before You Calibrate: Test Your Thermostat’s Accuracy
Choose the Right Reference Thermometer
Use a reference thermometer with digital accuracy, not an infrared one. Infrared thermometers read surface temperature, not air temperature. That is the wrong measurement for thermostat calibration. A NIST-traceable digital thermometer costs $20 to $25 and reads to within ±0.5°F. Your phone or smart speaker thermometer is not accurate enough.
Verify Your Thermometer First (Ice Bath Test)
Before trusting your thermometer, test it:
- Fill a glass with ice and cold water
- Stir it and insert the probe
- Wait three minutes
- It should read 32°F (0°C) within ±1°F
At sea level, boiling water should read 212°F. Subtract 1°F per 500 feet of elevation. If your thermometer fails either test, replace it before calibrating anything.
The 6-Step Accuracy Test
- Turn off your HVAC and wait 15 minutes for airflow to settle
- Tape the thermometer within 2 inches of the thermostat face
- Wait 15 to 20 minutes with doors and windows closed
- Read both displays at the same time
- Calculate the temperature variance (thermostat reading minus reference reading)
- Repeat at a different time of day to rule out time-of-day differences
Variance interpretation:
|
Variance |
Action |
| 1°F or less |
No action needed |
|
1 to 1.5°F |
Monitor; clean thermostat as preventive step |
| 1.5 to 3°F |
Calibrate now |
|
3 to 5°F |
Calibrate; check placement |
| More than 5°F |
Calibrate + placement check + consider replacement |
How to Calibrate Your Thermostat by Type
Find your model number on the label inside the cover panel. Download the installation manual PDF from the manufacturer’s website before starting.
Mechanical / Bimetallic Thermostat
Tools needed: flathead screwdriver, soft brush or compressed air, reference thermometer
Safety first: turn off power at the breaker. Verify with a voltmeter before touching any wiring. If your unit has a small glass vial with silver liquid, that is a mercury switch. Do not attempt calibration on a mercury switch thermostat. Mercury is regulated hazardous waste.
Calibration steps for screw-type units:
- Remove the cover
- Clean the bimetallic coil with a soft brush (this alone sometimes fixes minor variance)
- Check the sub base is level with a bubble level. An unleveled base throws off the mercury switch
- Find the calibration screw at the center of the bimetallic coil
- Adjust in 1/8-turn increments. Clockwise raises the reading. Counterclockwise lowers it
- Replace cover, restore power, retest after 20 minutes
Heat anticipator adjustment: this controls how early the system shuts off before reaching set point. Match it to the current draw on your furnace control board, typically 0.2 to 0.6A. If the furnace cycles too often, move the lever toward “longer.” If the room overshoots set point, move it away from “longer.” Heat anticipator adjustment is what separates a proper calibration from a partial fix.
For mercury switch thermostats: only check if the sub base is level. That is the most common fix. If the problem persists, replace the unit with a programmable digital model starting around $25.
Digital / Programmable Thermostat
Digital thermostat calibration requires no physical adjustment. It is all done in the menu.
- Run the accuracy test from Section 3
- Find your model number inside the cover panel
- Access the calibration menu (usually: Menu > Preferences > Advanced > Indoor Display Offset)
- Enter the offset setting: if the thermostat reads 2°F too low, enter +2°F
- Save the setting. Most units require a hold or confirm step. Unsaved offsets revert on power cycle
- Retest after 20 minutes
If no offset menu is available, the only fix is replacement. This guide explains when to check thermostat calibration, how to test it yourself. and when to call a professional for HVAC Services for Commercial & Residential properties in the Montrose area.
Smart Thermostat
Smart thermostat optimization starts with a firmware update. Smart thermostats receive sensor calibration corrections through firmware. Check for updates in the app before adjusting anything. A firmware update may fix the problem automatically.
Calibration steps:
- Nest: Settings > Equipment > Temperature Offset
- Eco bee: Main Menu > Settings > Installation Settings > Thresholds
- Honeywell Home: Menu > Installer Options > Temperature Offset
After entering the offset, enable room sensors in the most-used rooms, not hallways or spare bedrooms. Enable Fan Circulate mode for 15 to 20 minutes per hour to equalize temperatures across rooms. Review weekly runtime reports. Two to three cycles per hour in moderate weather is healthy. More than that may signal a calibration or equipment issue.
Thermostat Placement: The Problem Calibration Can’t Fix
A miss calibrated thermostat in a bad location has two separate problems. Calibration only fixes one.
Seven placement rules for accurate indoor temperature control:
- Interior wall, not an exterior-facing surface
- At least 5 feet from any supply or return air register
- Away from direct and indirect sunlight at all times of day
- Not near lamps, TVs, or computers
- Not beside exterior doors or drafty windows
- At 5 feet above floor level
- Central to the most-used living spaces
Sunlight alone can cause up to 4°F of error. Relocating a thermostat costs $75 to $200 including wiring and mounting.
For renters who can’t move the thermostat calibration: document the temperature variance in writing and request the landlord fix it. Keep a portable digital thermometer near where you spend most of your time. A portable fan pushing air from the thermostat area into your living space can reduce the gap. For more serious zoning issues, a smart plug paired with a portable heater or fan is a practical workaround.
Optimal Thermostat Settings After Calibration
Once your programmable thermostat settings are accurate, program them using DOE seasonal recommendations:
|
Period |
Winter | Summer |
| Wake | 68°F |
78°F |
|
Away |
60°F | 85°F |
| Evening | 68°F |
78°F |
|
Sleep |
65°F |
82°F |
This schedule alone saves $180 to $390 per year according to DOE 2024 data. Every degree of setback saves roughly 1% per 8-hour period.
On the sleep set point: NIH research links sleep onset with the body’s natural core temperature drop. The optimal sleep ambient temperature is 60 to 67°F for most adults. Temperatures above that increase nighttime arousals and reduce REM sleep. The 65°F winter sleep set point is not just about energy savings thermostat calibration benefits. It is scientifically better for your health.
After thermostat calibration, reprogram your set points. Many homeowners have been unknowingly adjusting set points to compensate for calibration errors. If your thermostat was reading 2°F high, your old 68°F set point was actually delivering 70°F. After calibration, set what you actually want.
How Often to Check Calibration
|
Thermostat Age |
Type | Recommended Frequency |
| 0 to 3 years | Digital / Smart |
Annually; verify within first week of install |
|
3 to 7 years |
Digital / Smart | Twice yearly (spring + fall) |
| 7 to 10 years | Digital |
Twice yearly; consider smart upgrade |
|
10+ years |
Any | Quarterly; evaluate replacement |
| Any age | Mechanical |
Annually + after any HVAC work |
Also re-check calibration after: any HVAC repair, equipment replacement, significant ductwork work, moving to a new home, or changing the thermostat battery.
Calibrate vs Replace: The Decision Table
|
Scenario |
Verdict |
| Variance under 3°F, digital, under 10 years, offset available |
Calibrate |
|
Variance 3 to 5°F, digital, offset available |
Calibrate first; replace if offset doesn’t hold after 30 days |
| Mechanical, calibration screw works |
Clean + calibrate |
|
Mercury switch type |
Check level only; replace if problem persists |
| Digital with no programmable schedule |
Replace schedule savings = $180 to $390/yr |
|
Variance over 5°F, any type |
Replace |
| Unit over 15 years old |
Replace |
|
Smart thermostat, firmware current, offset won’t hold |
Professional diagnosis |
Cost comparison:
- DIY reference thermometer: $20 to $25
- Professional calibration (as part of tune-up): $75 to $150
- Programmable digital replacement: $25 to $50
- Smart thermostat: $99 to $249
Before replacing, check wiring. A loose R or C wire terminal causes intermittent voltage fluctuations that reset calibration offsets. A 10-minute wiring inspection can save a $150 to $250 replacement. If calibration doesn’t hold after three attempts, inspect wiring before spending anything.
Why Calibration Alone Isn’t Enough
The thermostat is just the control signal. Inaccurate input produces inaccurate output regardless of how good your equipment is. The system works as: thermostat > equipment > building envelope.
Duct leakage compounds the problem. DOE estimates 25 to 40% of conditioned air is lost through leaky ducts. A 2°F calibration error combined with 30% duct loss means your HVAC system efficiency drops to around 72% of what it should be.
Dirty filter interaction: a clogged filter restricts airflow and creates heat buildup near the air handler. That heat can radiate toward the thermostat if it sits near the return air path. The thermostat senses warm air even when the room is at set point, triggering thermostat short cycling. Replace your filter before calibrating. The variance may disappear entirely.
Multi-room homes: a single thermostat in a hallway controlling a three-bedroom home means bedroom temperatures may differ by 3 to 5°F from the reading. Thermostat calibration improves the hallway reading. It does not solve the bedroom problem. Room sensors, ceiling fans, and vent dampers address that.
When to Call a Professional
DIY is appropriate when:
- Your digital thermostat has an accessible offset menu
- Your mechanical thermostat has a calibration screw
- Your smart thermostat supports app-based calibration
- No wiring damage is visible
Call a pro when:
- You have a mercury switch thermostat
- Discrepancy persists after three calibration attempts
- Wiring shows damage, corrosion, or loose terminals
- Overworked HVAC continues short-cycling after correct thermostat calibration
- The offset won’t save between power cycles
- Variance suddenly changes (may signal a refrigerant issue, not the thermostat)
A professional brings calibration thermometers accurate to ±0.1°F, checks voltage drop across terminals, and tests across multiple HVAC cycles. At 75 Degree AC, our Air Conditioning Services in Houston, TX include full thermostat diagnostics as part of our seasonal tune-up package. We handle both residential and commercial systems across Montrose and surrounding Houston neighborhoods.
Conclusion
A thermostat calibration costs you money, comfort, and unnecessary wear on your HVAC system. Testing takes less than 30 minutes and costs under $25 in tools. Most homeowners find the fix is simpler than they expected. Start with the ice bath test to verify your thermometer, run the 6-step accuracy test, and use the decision table to know whether to calibrate or replace.
If your system is still short-cycling or you are unsure about wiring, contact 75 Degree AC. Call us today to schedule a thermostat diagnostic or full seasonal tune-up and start saving on every energy bill.
FAQs
What is thermostat calibration and why does it matter?
It is the process of aligning your thermostat’s displayed temperature with actual room temperature. The DOE estimates miss calibration wastes 10 to 20% of annual heating and cooling costs.
How do I know if my thermostat needs calibration?
Watch for high energy bills, chronic discomfort, short cycling, hot and cold spots, and a system that never reaches its set point.
How do I test my thermostat’s accuracy?
Use a digital reference thermometer. Tape it near the thermostat, wait 15 to 20 minutes, and compare readings. A variance of 1.5°F or more means you should calibrate.
How do I verify my reference thermometer is accurate?
Ice bath test: the probe should read 32°F after three minutes in ice water. Boiling water should read 212°F at sea level.
Can a thermostat be off by more than 5 degrees?
Yes. Direct sunlight, mercury switch failure, or an aged sensor can cause 5 to 10°F of error.
Does a smart thermostat need calibration?
Yes. Sensors drift over time. Always check for firmware updates first. A firmware update may correct the issue automatically.
How often should I calibrate my thermostat?
Annually as a minimum. Twice yearly for units 7 to 10 years old. Quarterly for units over 10 years.
Can low batteries affect thermostat accuracy?
Yes. Reduced voltage weakens the sensor signal. Change batteries every six months. Don’t wait for a low-battery warning.
How much does thermostat calibration cost?
DIY costs $20 to $25 for a reference thermometer. Professional calibration runs $75 to $150. Replacement ranges from $25 to $249 depending on the thermostat type.
Will calibrating my thermostat lower my energy bill?
A 3°F error causes roughly 3% chronic energy waste. Combine calibration with proper schedule programming and you can save $180 to $390 per year.
If recalibrating doesn’t fix the drift, it’s worth having it checked by a technician who knows the area — see our HVAC services in Montrose.